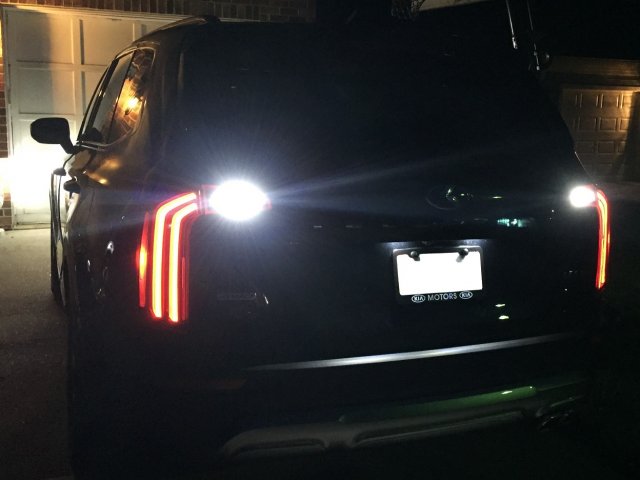
Installed mine last night, looks great! Those were the last incandescent bulbs left, everything is now full LED. Wasn't too bad of an install, maybe 20 minutes.
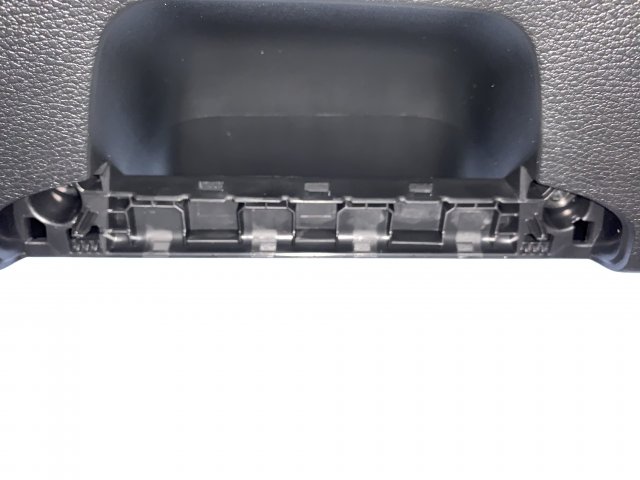
Once you've removed the power-lift gate button (if applicable), I highly suggest taking out the 4 screws like
@utmeep mentioned (2 behind the grab handle cover, 1 on either side – higher up). You'll have to remove the top 2 panels to get to the higher screws. Just take your time and they should pop right off, exposing the screw. Then, once you have all of the screws out, I'd suggest popping out the least amount of clips from the larger trim piece as possible...too many will add to the difficulty of lining everything back up. So, just pop out only as many as you need to fit your hand in there. It's a bit tight to be honest, but the bulbs twisted out relatively easily. Another tip, take note of the orientation of the bulb before taking it out, that way you'll have a reference to where it needs to be once you go to reinstall it with the new bulbs. I didn't do this for the first bulb, and I had trouble lining the bulb back up since it's hard to see even with the panel loose. Once the bulbs are in and tested, replace the screws, carefully snap in your trim pieces, and you're good to go!
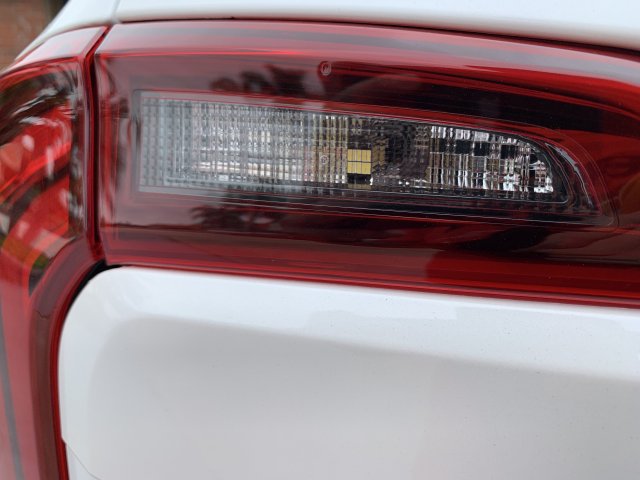
These are the bulbs I used, match my other bulbs perfectly. Great reviews, too:
https://www.amazon.com/dp/B0728DYR9H?ref=ppx_pop_mob_ap_share&tag=salsbloofnot-20
I bought these to avoid destroying my plastic trim, makes things a bit easier:
https://www.amazon.com/dp/B00D7XNQHG?ref=ppx_pop_mob_ap_share&tag=salsbloofnot-20
Hope that helps.

 1.4 MB Views: 234
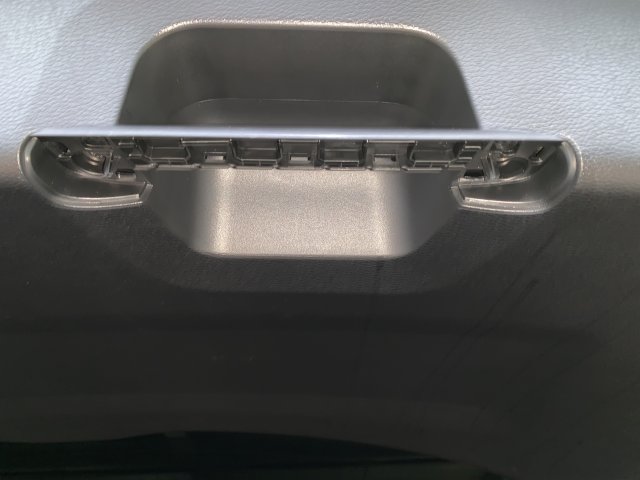 3 MB Views: 239
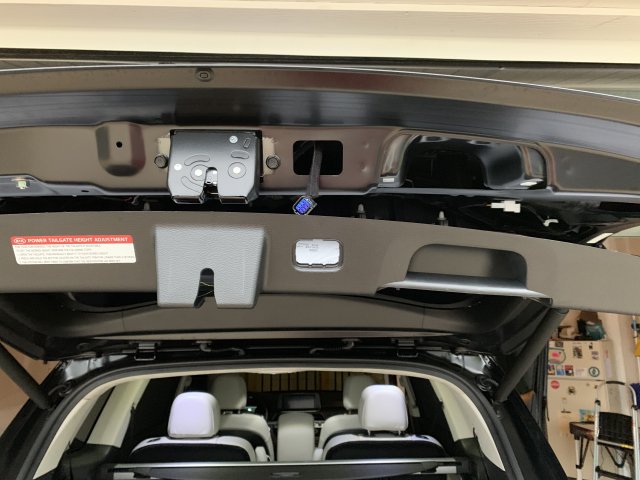 3.3 MB Views: 255
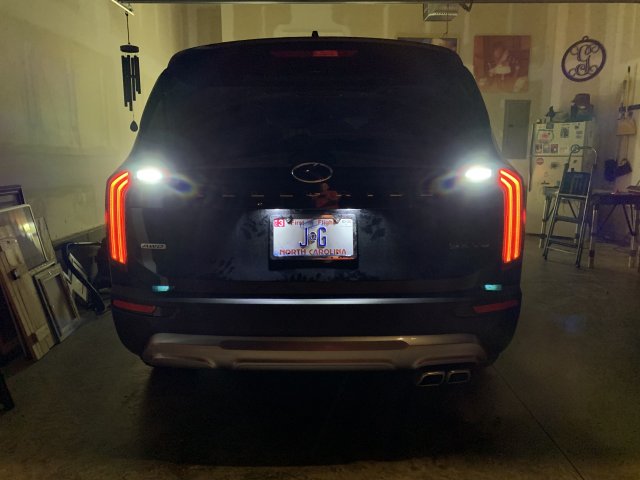 3 MB Views: 248
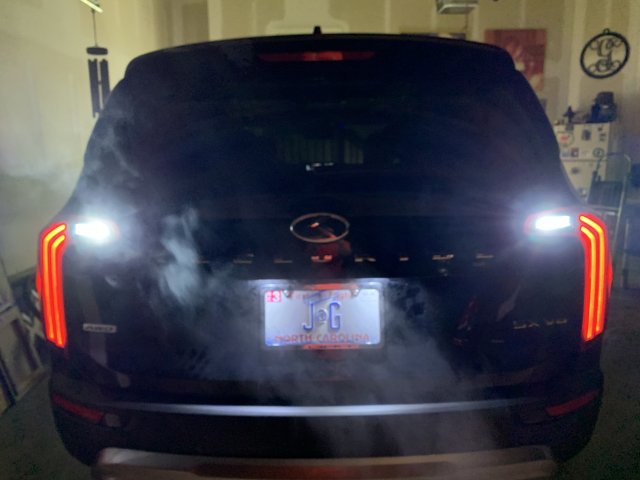 2.7 MB Views: 235