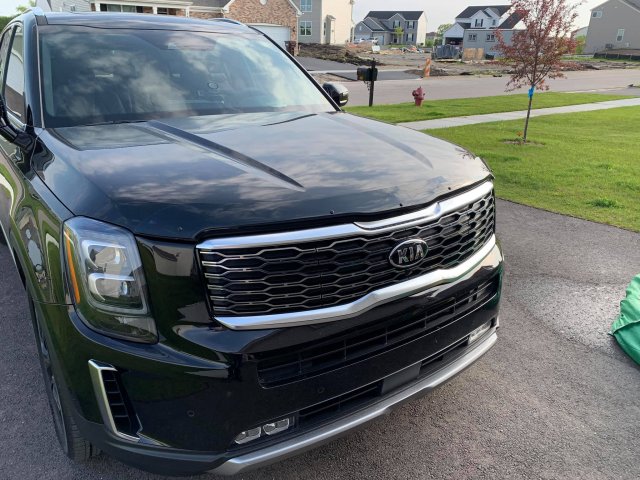
Attached are the installation instructions for the hood deflector.
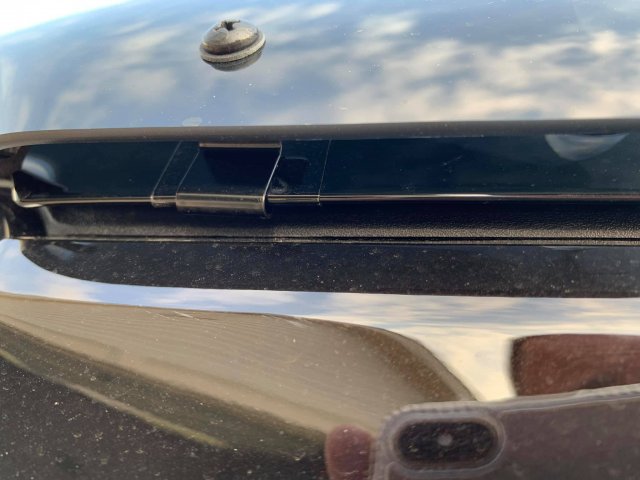
On another forum, others had mentioned that the screws heads are exposed - and they are. Getting some of these to address that:

The Hillman Group 59047 Hinge Screw Cover Number 8/Number 10, Black , 15-Pack. Waiting for these to show up today - I'll follow up after installing.
Amazon.com: The Hillman Group 59047 Hinge Screw Cover Number 8/Number 10, Black , 15-Pack: Home Improvement
Buy The Hillman Group 59047 Hinge Screw Cover Number 8/Number 10, Black, 15-Pack: Machine Screws - Amazon.com ✓ FREE DELIVERY possible on eligible purchases
www.amazon.com
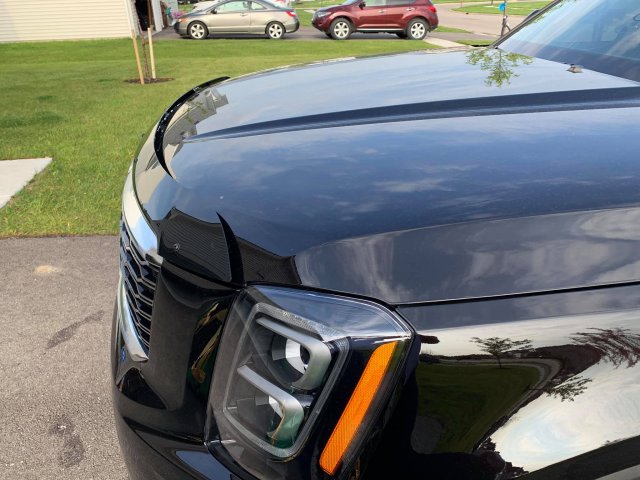
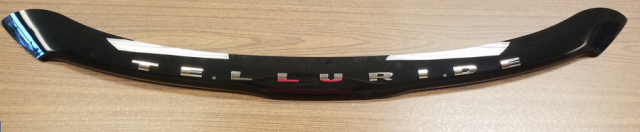
To address the covering up of the hood lettering, I got a hood emblem kit (an idea also gotten from the other forum):
View attachment 1977
FWIW -
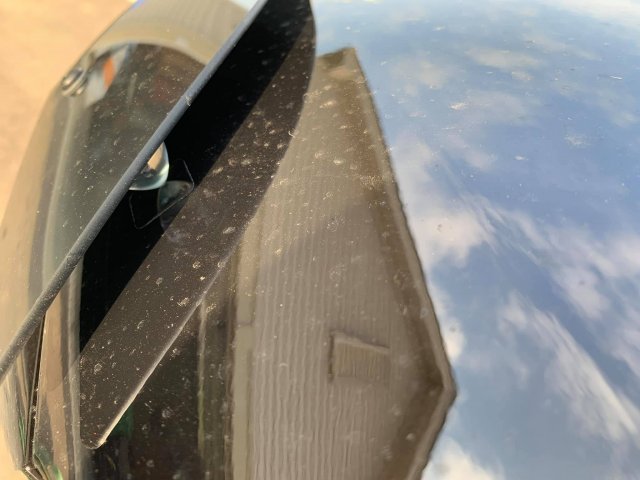
I applied the letters to the deflector before installing on the vehicle. Method I used was:
- took measurements from the line of the hood, that corresponds to the top of the deflector, measuring to the top of each letter on the hood
-- 'dry fit' the deflector on the hood, line up the 'nose' of the deflector with the 'nose' of the hood and the 'line of the hood' to measure from should become clear
- take the stiff, white, foam template off the letters by carefully pushing the letters thru (making sure letters remain on the yellow backing tape, which is in 3 sections)
- using blue painter's tape, taped the foam template to the deflector
-- starting with the center index mark on the template aligned with the center hole on the deflector
-- using measurements taken from the hood - from the top of the deflector to the top of each letter cut out
- once the template was firmly taped in place (after double checking centering and all measurements)
-- peeled one letter at a time from the yellow backing tape
-- carefully fitted the letter thru the foam template cutout and firmly pressed the letter in place
-- repeated for each letter
-- then repeated the firm press on each letter
-- then removed template
View attachment 1981
Install on the vehicle is today after delivery of the screw covers.
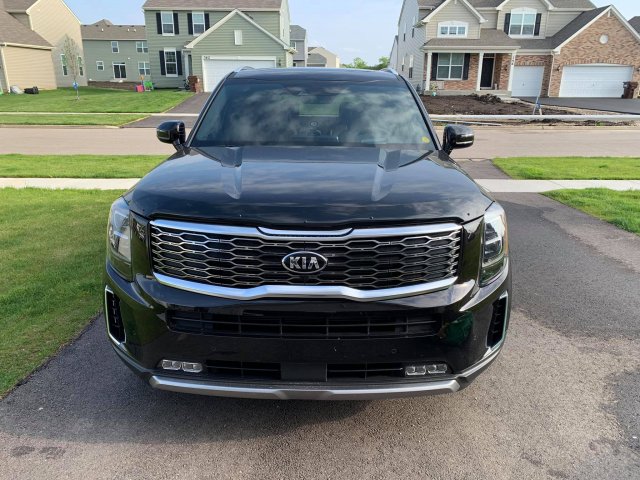
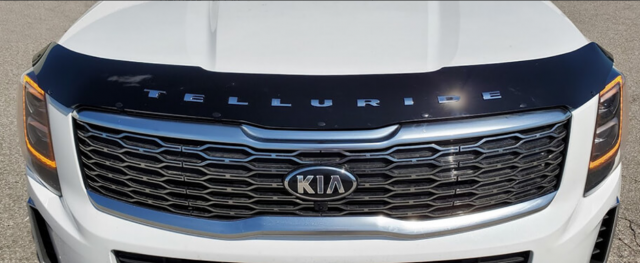
Leaving the lettering on the hood - at least for now, probably won't take it off unless it gets annoying for some reason... won't be able to see it unless looking back behind the deflector.
In Canada they sell a hood deflector with the lettering already installed - on a bigger version of the hood deflector (taller, longer and wider; and not with exposed screws) - don't understand why US & Canada deflectors would be different...
View attachment 1979
FWIW
EDIT: to remove duplicate pic of lettering kit and add pic of lettered deflector